Went at school this morning to clear out my unfinished business regarding clearance process. Thank God I'm already cleared! :) and at last, after a week, I was able to go out and visit the town.
I dropped by a garment store here in our place and bought the garment that my Mom told me to buy. I noticed the chain hanging and asked the saleslady about it. Good thing it was only 20 php (<$1) per meter so I bought it. I remembered the DIY I saw on youtube about chain bracelets so I never doubted and immediately bought the chain after knowing how cheap it was. Made the necklace right away after I got home :)
What you will need:
-Small and large chain
-Small rings (connectors)
-Piece/s of stretchable cloth
-Long nose and cutting pliers
-Lock
-Needle & thread
-Scissor
How:
Collect the materials and other things that you think you could use like tape measure, beads, etc. Using the cutting pliers, cut the chain according to your desired length.


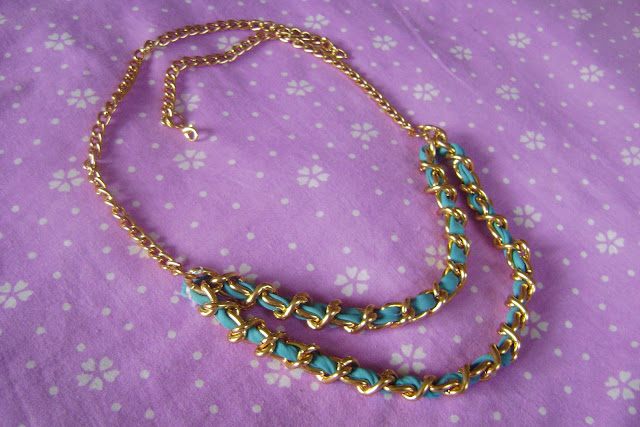
Insert the cloth inside and out of the chain using the needle and tie the cloth when it reaches the end. I decided to make it two layers so I made the first one longer than the second.


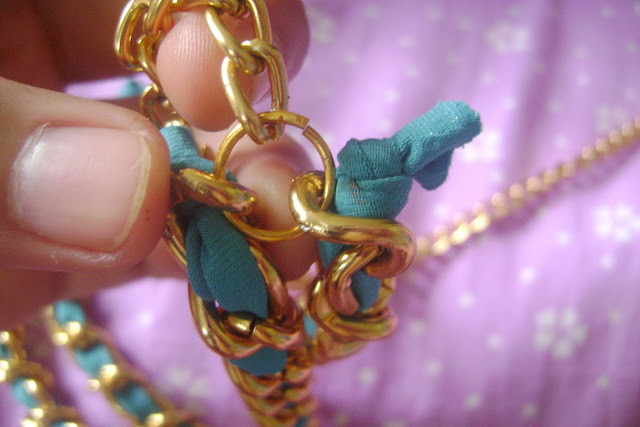
Draft the design you want to do and then connect the ends of the two chains using a small gold ring connector (not sure about what its called).
Before sealing the connectors on both sides, insert the smaller chains which will serve as the strap for the necklace. I wanted to make it adjustable so I cut the first small chain shorter than the other.
To make the look cleaner, I decided to sew the ends of both cloth and then I loosened the ties.
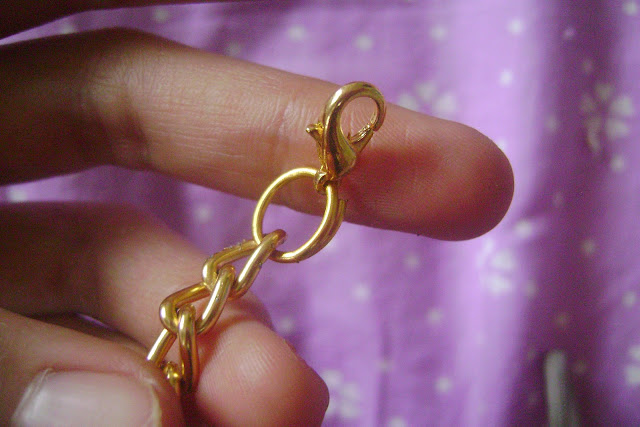
Place the lock at the end of the chain (the shorter small chain) using the ring connector and then you're done!:)
You could also make bracelets out of this! :)
As easy as that! Now, you wouldn't have to spend bigger money to purchase expensive accessories online or anywhere else because you could do it yourself! I'm thinking about making a lot more designs so I wouldn't mind any more about accessories when I go out to special occasions. There are a lot of tutorials that I could base to make my own.
I hope you like it! Have a good night! <3


16 comments
This is nice! I'll try to do this..thanks for posting!!:)
ReplyDeleteThanks! :)) I'll check out your post about that.
DeleteNice. :D
ReplyDeleteOMG! I will totally do this! :)) Thanks for the tutorial! :)) Mind linking me up?
ReplyDeletehttp://www.kaigrafia.com
Thank you! :))
Deletesure.
omg this is an awesome DIY! love it! it totally looks like a bought necklace!
ReplyDeletex
SHOPSTYLECONQUER.COM
Thanks! :D means a lot!
Deleteso so so chic. :) doing lots of DIY's lately, i see
ReplyDeleteyah :)) wla mn gd qy lain mbuhat na haha
DeleteLove this! Thanks for the tut and super easy directions
ReplyDelete- Josie :: 8bitgrayscale
np :) thanks for dropping by!
DeleteYour blog inspired me especially your DIY stuffs! Love them! Keep it up! :) Followed your blog to. :) Mind checking my blog too? http://walkinginfreeshoes.blogspot.com/
ReplyDeleteXOXO
sure :))
DeleteOh wow! nice DIY may I ask where did you bought the chains? thanks!
ReplyDeleteAdorbs.. ♥ I love diy accessories. :)
ReplyDeleteOMG.., ! you surely an talented :)
ReplyDeleteah.. seriously those looks so pretty and expensive., i must tryna' do some ..,
loved reading your blog so far- those are so inspirational :)
I follow you ..,!
http://puresoulandfaith.blogspot.com/ <3
Feel free to leave your comments! :)
Do not forget to include your blog url so I can visit yours as well.